Working with terrain means coordinating building elevations, site components, and the way you view the project. As the ground rises or falls across a site, you need to understand how buildings, parking areas, and other elements relate to that surface.
Zenerate’s Building Elevation Control lets you configure how buildings sit on the ground, while Flat Component Projection keeps supported site elements aligned with the terrain. Elevation and MSL View Modes help you review the project at different vertical levels.
This tutorial walks through how to use these features together as you develop and refine your site layout.
1. Choose How Your Building Sits on the Terrain
Open Typical Floor Setup for the building you want to adjust. From there, choose how its ground elevation should be determined.

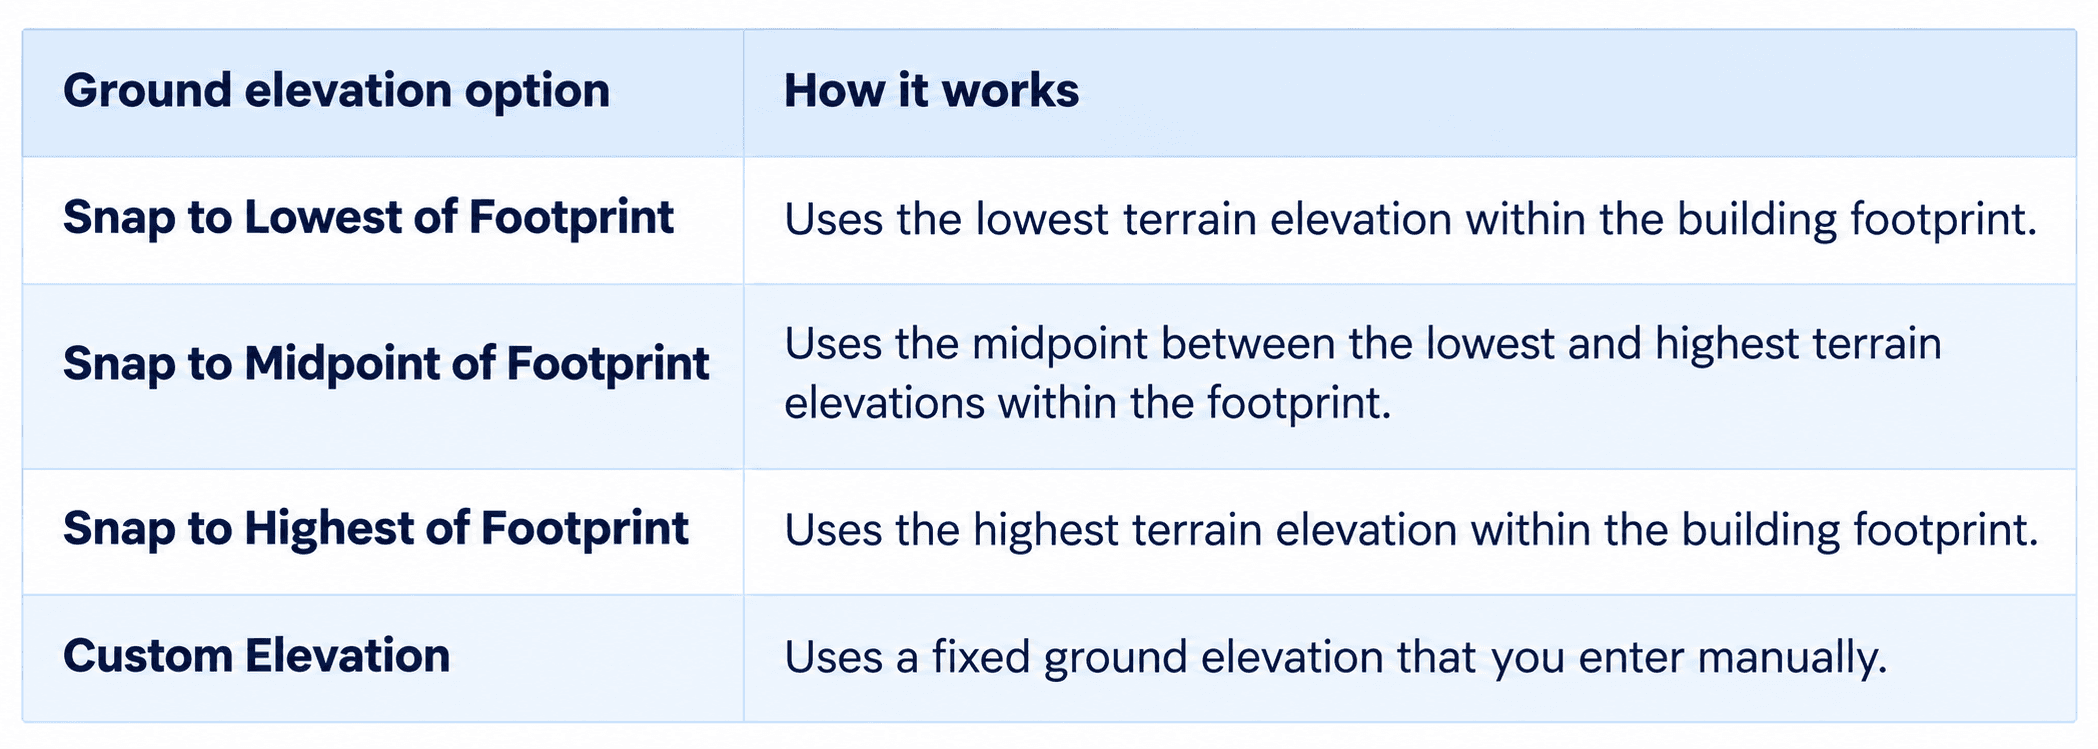
The midpoint option uses the halfway point between the lowest and highest terrain elevations. It does not calculate the average elevation of the entire surface beneath the building.
Choose a terrain-based option when you want the building’s ground elevation to respond to its location and footprint. Use Custom Elevation when you want to maintain a specific elevation as you refine the layout.
2. Preview and Apply the Ground Elevation
After selecting an option, preview the updated floor elevations before applying your changes. Review the Elevation and MSL values for each floor to see how the adjustment affects the building vertically.
Ground elevation changes can be applied in both 2D and 3D. Use the 3D view to inspect the building’s position relative to the surrounding terrain.

On a sloping site, compare the lowest, midpoint, and highest options to see how each changes the relationship between the building and the ground. This gives you a clearer basis for reviewing its placement as the site layout develops.
3. Check Elevations as You Refine the Layout
Terrain-based ground elevations update automatically when you move a building or change its footprint.
For example, a building using Snap to Lowest of Footprint will respond to the lowest terrain elevation within its updated footprint. As you reposition the building, review how its ground elevation changes.
Custom elevations remain fixed. When you move a building with a custom elevation, check how it sits relative to the terrain in its new location and adjust the value manually if needed.

4. Review Floor Heights and Podium Alignment
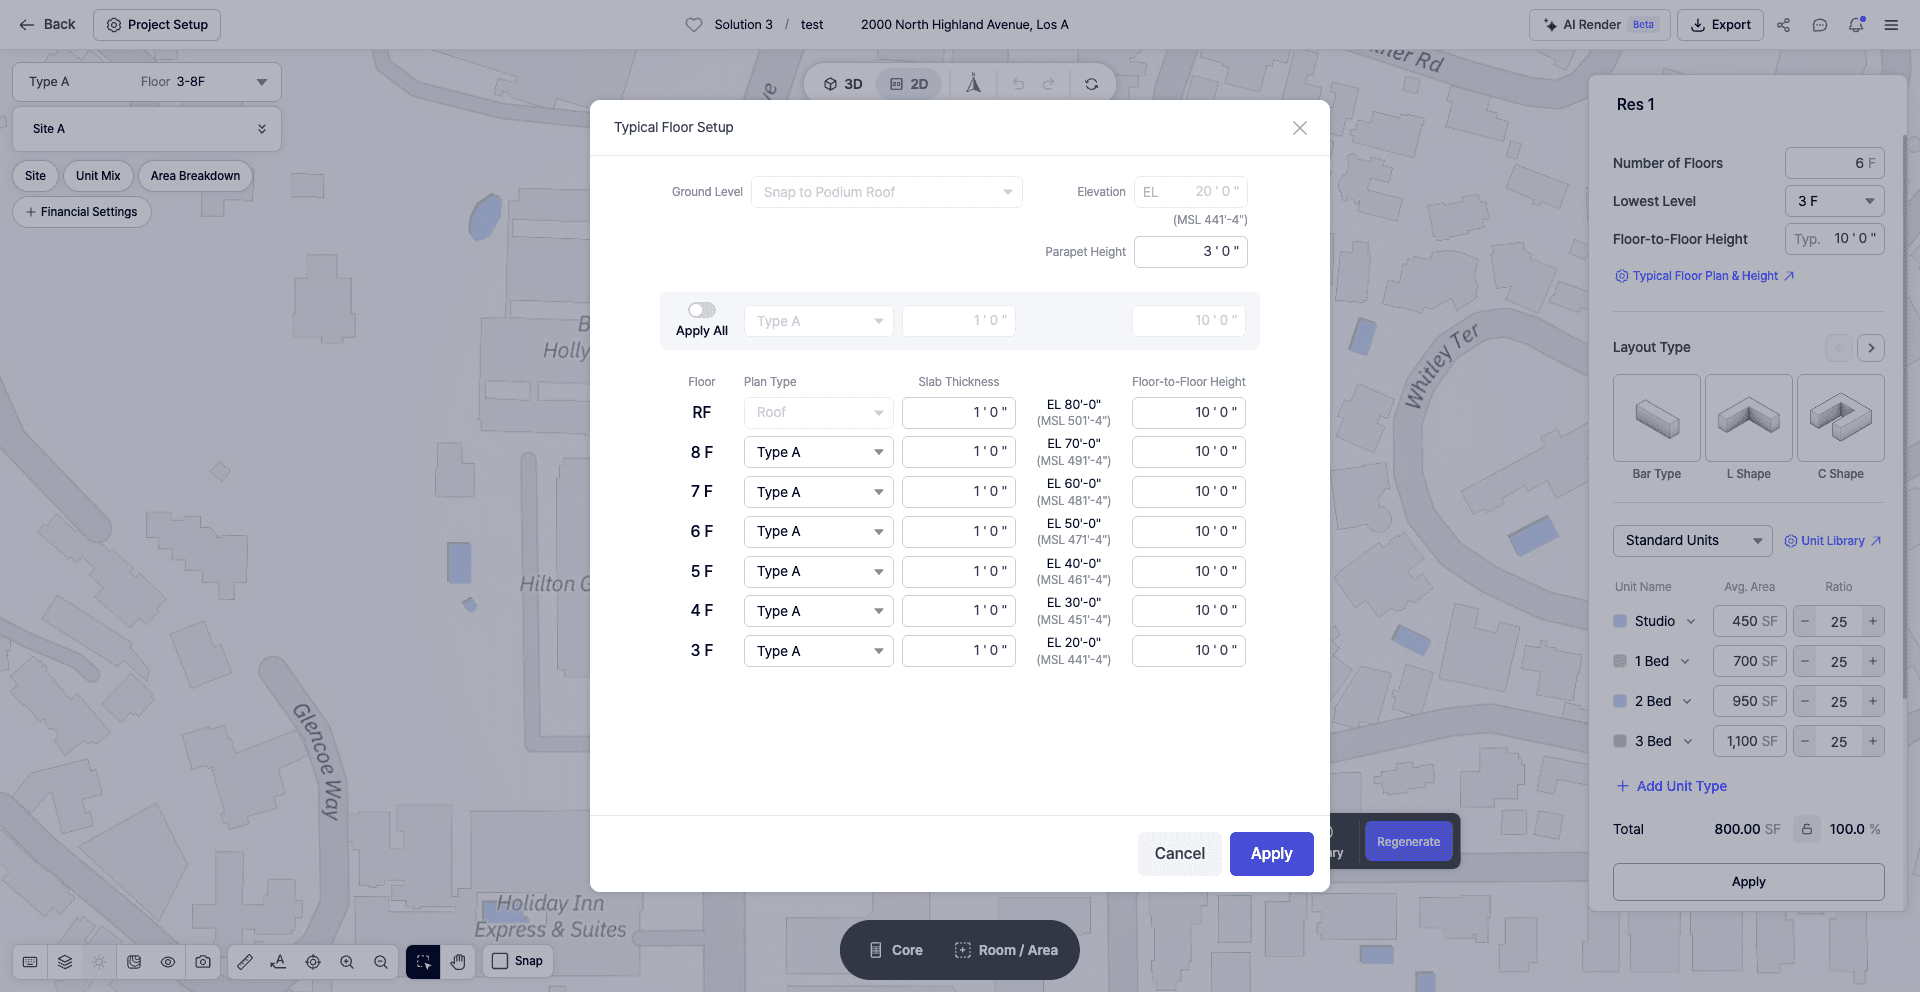
In Typical Floor Setup, you can also review individual floor elevations and adjust floor-to-floor heights.
When a floor-to-floor height changes, upper-floor elevations update automatically. Preview the resulting values before applying the changes to understand how the adjustment affects the floors above.
For residential buildings on podiums, the elevation controls also keep the buildings aligned with the podium roof elevation.
5. Keep Site Components Aligned with Terrain
Buildings are only part of the layout. Driveways, parking areas, boundaries, and zones also need to relate to the ground surface.
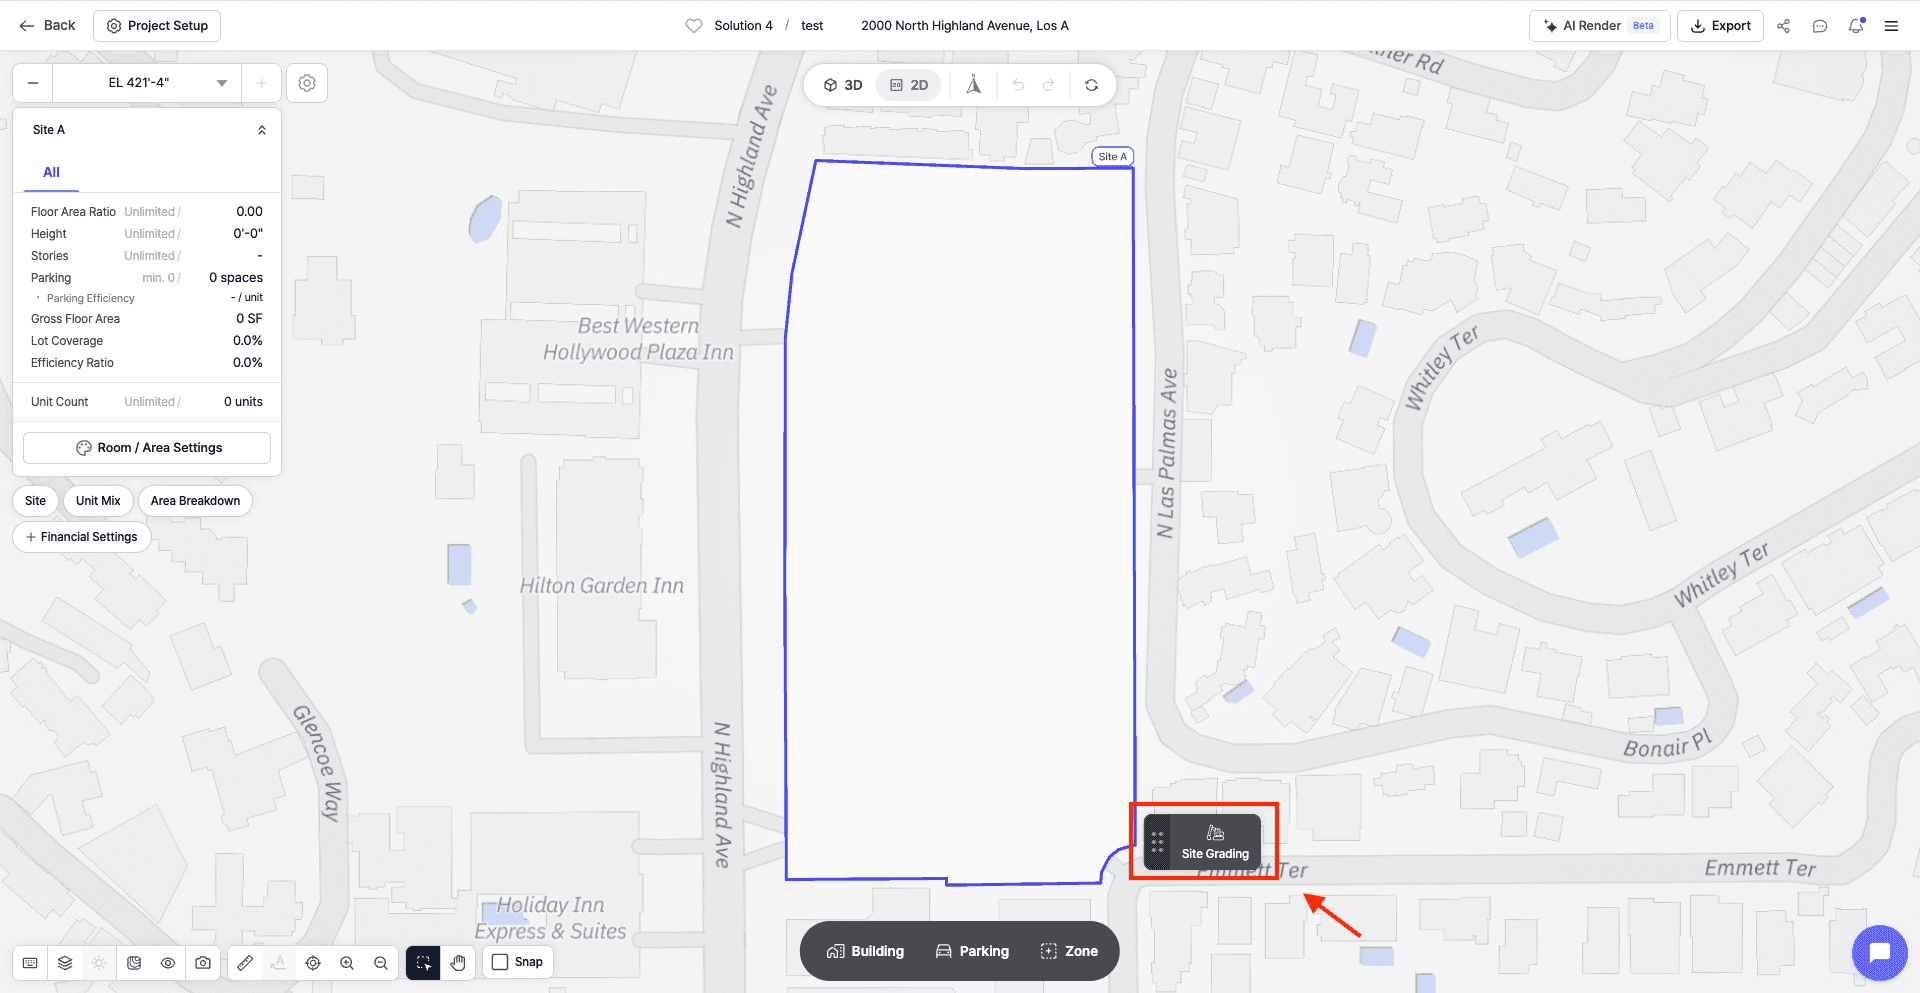
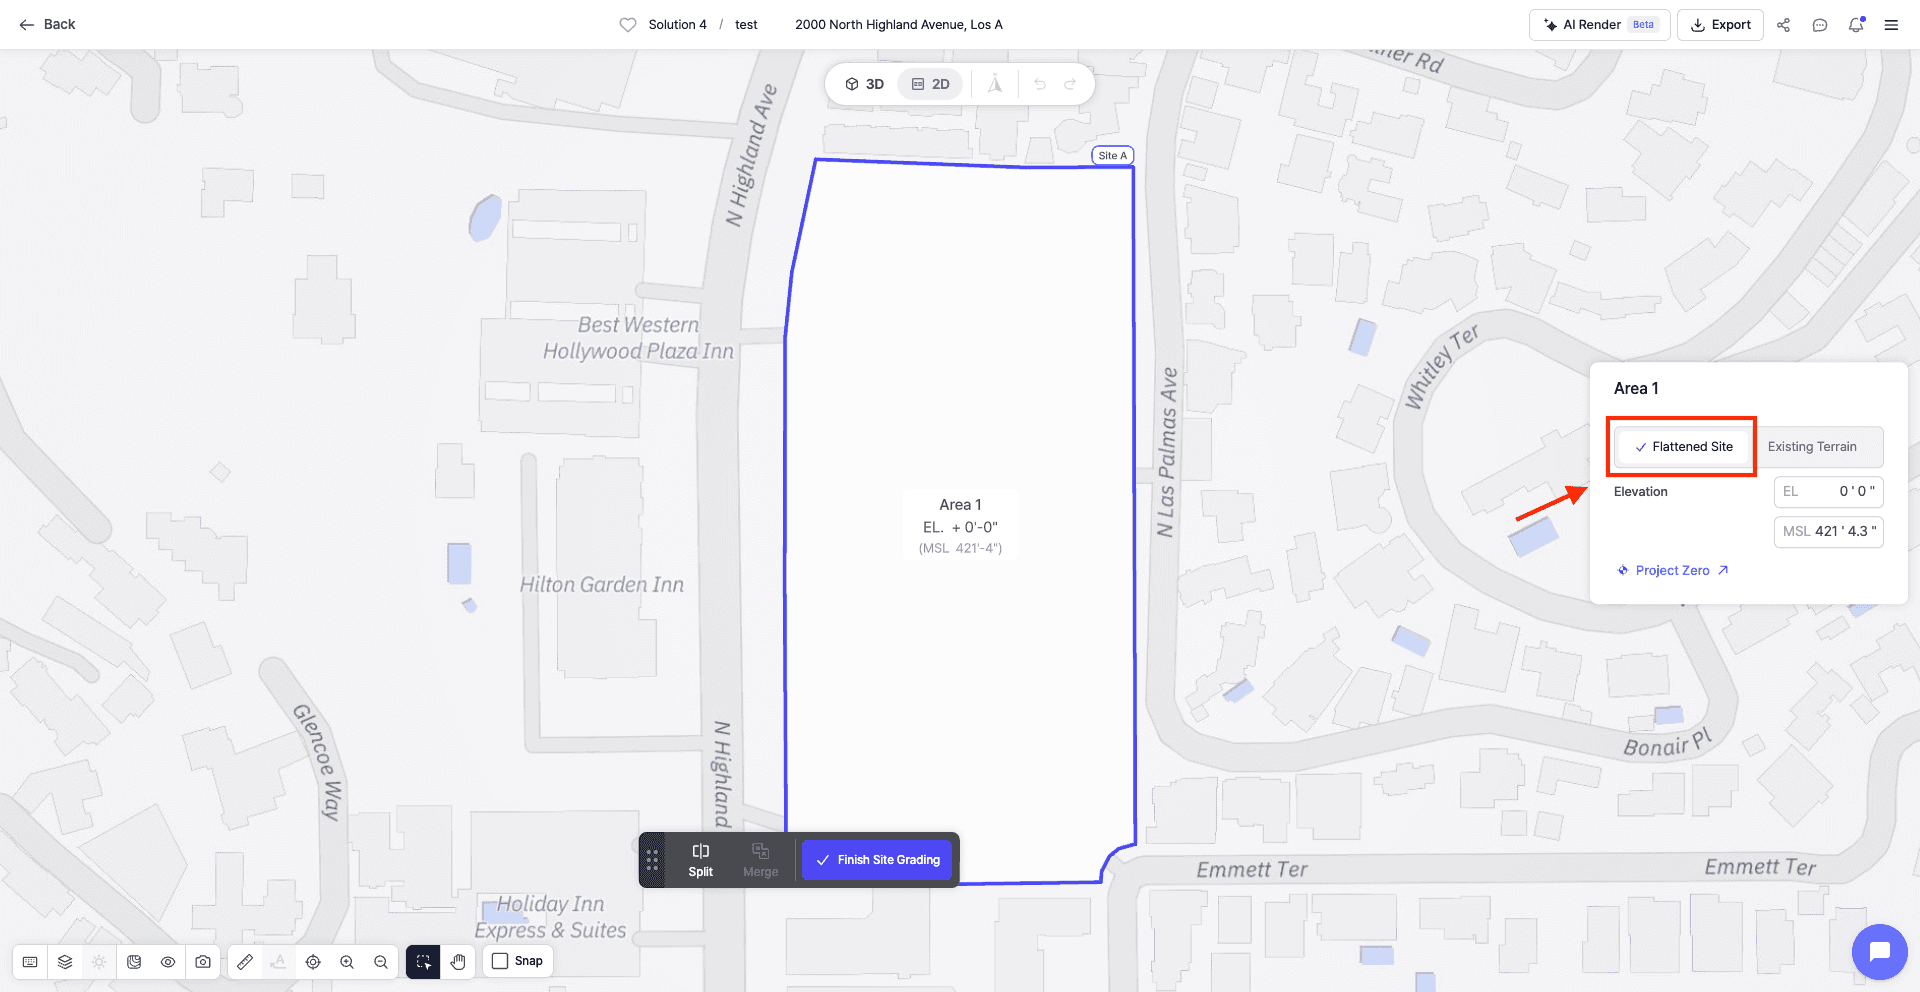
With Flat Component Projection, supported flat components follow the terrain, helping prevent them from appearing above or below the ground.
Supported components include:
• Driveways and parking stalls
• Parking lots
• Site boundaries and setbacks
• Zones
• Individual parking stalls

Review Projection as the Site Changes
When terrain is enabled, review how these components sit on the surface. Their projection updates automatically when you move them or change the site grading.
Components retain their plan geometry while their projection updates. Their layout remains intact as they follow the terrain surface.
This works across both single-site and multi-site projects, allowing you to review terrain relationships within one site or across several sites.
6. Switch Between Floor, Project Elevation, and MSL Views
Once you have configured the buildings and site components, use the viewing controls to explore the project at different vertical levels.
Select the settings button beside the floor selector to access the View Reference options.

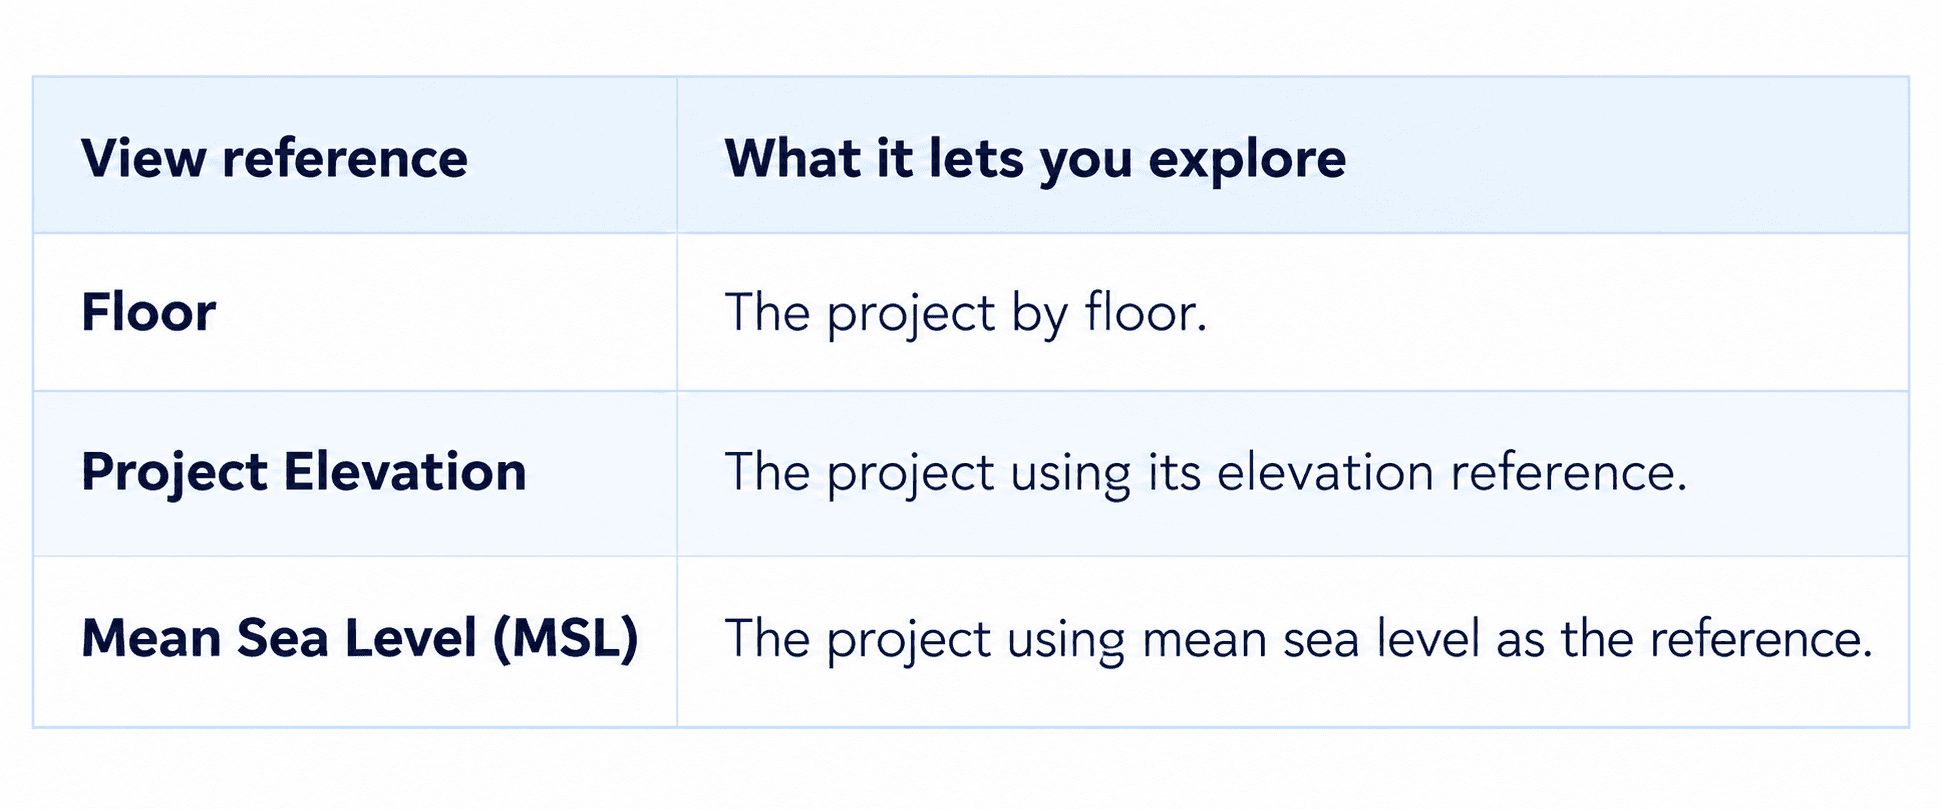
Viewing by elevation is useful when buildings sit at different heights. At a selected elevation, Zenerate displays the corresponding floor of each building, helping you compare buildings across a shared vertical level.
7. Adjust the Viewing Elevation
Use the slider to move through elevations, or enter a value directly to inspect a specific level.
For incremental adjustments, use the +/− buttons. These move the viewing elevation in steps of 10 ft or 3 m, depending on the units in use. You can also explore elevations below or above the project’s slider range.

As you navigate, underground shading appears only in areas below the actual terrain surface. This helps you see which areas are underground as the terrain changes across the site.
Your view settings are preserved when you refresh or reopen a solution, so you can return to the same viewing setup.
Explore What Zenerate Can Do
See how Zenerate helps you explore site layouts, adjust building elevations, and review your designs on terrain. Generate options, refine your project, and share the results with your team in one workflow.
Book a demo or start a free trial to explore these features in your next project.
Book a Demo + Start a Free Trial